Android continues to dominate the mobile operating system market. However, many users are now exploring ways to run Android on their PCs. You might be a developer testing apps. Perhaps you’re a gamer looking to play mobile games on a larger screen. Maybe you’re simply curious about the Android experience on a desktop. This guide will walk you through the process of installing Android on your PC.
In this updated guide, we’ll cover the latest methods and tools. You’ll also find tips to help you seamlessly run Android on your PC in 2025.
Why Install Android on a PC?
Running Android on a PC offers several benefits:
- App Testing: Developers can test apps on a larger screen with better control.
- Gaming: Play mobile games with a keyboard and mouse or a gamepad.
- Productivity: Use Android apps for work or entertainment on a desktop.
- Learning: Explore Android’s open-source ecosystem and customize it to your needs.
Minimum Hardware Requirements
Before installing Android on your PC, ensure your system meets these minimum requirements:
- Processor: Dual-core CPU (Intel Core i3 or AMD equivalent)
- RAM: 4GB or higher (8GB recommended for smoother performance)
- Storage: 20GB of free space (SSD recommended for faster performance)
- Graphics: A GPU with hardware acceleration support (e.g., Intel HD Graphics, NVIDIA, or AMD)
- USB Drive: For creating a bootable installation media
Methods to Install Android on PC
There are several ways to run Android on your PC, each with its own advantages and use cases. Here are the most popular methods in 2023:
1. Android-x86 Project
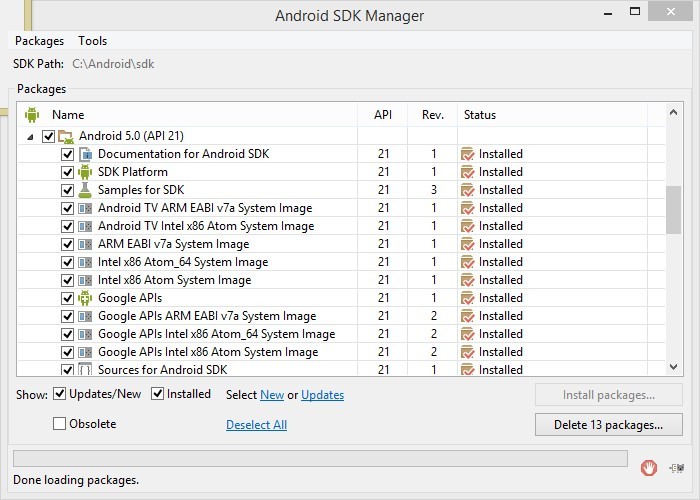
The Android-x86 project is an open-source initiative that ports Android to run natively on x86-based PCs. It’s ideal for users who want a full Android experience on their desktop or laptop.
Pros:
- Native Android experience
- Dual-boot capability with Windows
- Regular updates and support
Cons:
- Requires technical knowledge
- Limited Google Play Store support (may require manual installation)
2. Android Emulators
Android emulators like BlueStacks, NoxPlayer, and LDPlayer allow you to run Android apps on your PC. You do not need to install the full OS. These are perfect for gamers and casual users.
Pros:
- Easy to set up
- Pre-installed Google Play Store
- Optimized for gaming
Cons:
- Limited to app usage (not a full OS experience)
- May consume significant system resources
3. Virtual Machines
Using virtualization software like VMware or VirtualBox, you can run Android as a guest OS within your existing operating system.
Pros:
- No need to dual-boot
- Safe and isolated environment
Cons:
- Requires a powerful PC for smooth performance
- Limited hardware access
4. Android-Based Operating Systems
Operating systems like PrimeOS, Bliss OS, and Phoenix OS are designed specifically for PCs. They offer a desktop-like Android experience with added features like taskbars and multi-window support.
Pros:
- Desktop-friendly interface
- Optimized for PC hardware
Cons:
- May not support all Android apps
- Limited updates compared to mainstream Android
Step-by-Step Guide to Install Android-x86
- Step 1: Download the Android-x86 ISO: Visit the official Android-x86 website and download the latest stable ISO file. Choose the version that matches your PC’s architecture (32-bit or 64-bit).
- Step 2: Create a Bootable USB Drive: First, use tools like Rufus (for Windows) or Etcher (for macOS/Linux). These tools help you create a bootable USB drive with the Android-x86 ISO.
- Step 3: Configure BIOS/UEFI: Restart your PC. Enter the BIOS/UEFI settings. You can usually do this by pressing F2, F10, or Del during startup. Change the boot order to prioritize the USB drive. Save changes and exit.
- Step 4: Install Android-x86: Boot from the USB drive and select “Install Android-x86 to hard disk.” Choose the partition where you want to install Android (you can dual-boot with Windows by selecting free space). Follow the on-screen instructions to complete the installation.
- Step 5: Set Up Android: After installation, reboot your PC and select Android from the boot menu. Complete the initial setup, including Wi-Fi, Google account, and preferences.
- Step 6: Install Google Play Store (Optional): If the Play Store isn’t pre-installed, download the necessary APK files (Google Play Services, Play Store, etc.) and install them manually.
How to Use Android Emulators
BlueStacks
- Download and install BlueStacks from the official website.
- Launch BlueStacks and sign in with your Google account.
- Access the Play Store and download your favorite apps or games.
NoxPlayer
- Download NoxPlayer from the official website.
- Install and launch NoxPlayer.
- Customize settings like RAM allocation and controls for gaming.
Frequently Asked Questions (FAQs)
Can I dual-boot Android and Windows?
Yes, using the Android-x86 project, you can dual-boot Android alongside Windows.
Is it legal to install Android on a PC?
Yes, it’s legal as long as you use legitimate software and don’t violate any licensing agreements.
Can I run Android apps without installing the full OS?
Yes, Android emulators like BlueStacks and NoxPlayer allow you to run apps without a full installation.
Which method is best for gaming?
Android emulators like BlueStacks and NoxPlayer are optimized for gaming and offer features like key mapping and controller support.
Do I need a powerful PC to run Android?
While basic Android installations can run on modest hardware, a more powerful PC ensures smoother performance, especially for gaming and multitasking.
Final words
Installing Android on your PC opens up a world of possibilities, from gaming and app testing to productivity and customization. You may choose the Android-x86 project for a native experience. Alternatively, you can use an emulator for convenience. This guide provides all the tools and steps you need to get started.