Text messaging has become an integral part of our daily lives. Text messages are often used for personal conversations or business communications. They frequently contain important information that we may need to refer back to. However, there are times when we accidentally delete these messages or lose them due to technical issues. Fortunately, there are several methods to recover deleted text messages on different devices. These include Android, iPhone, and even Gmail.
In this comprehensive guide, we will explore these methods in detail. We will provide step-by-step instructions to help you retrieve your lost messages.
Why Recovering Deleted Text Messages is Important
Before diving into the recovery methods, it’s essential to understand why recovering deleted text messages is crucial. Text messages can contain valuable information such as:
- Personal Conversations: Memories, important dates, or sentimental messages.
- Business Communications: Contracts, agreements, or important client information.
- Security Information: Two-factor authentication codes or password resets.
Losing such information can be frustrating and, in some cases, detrimental. Therefore, knowing how to recover deleted text messages can save you from potential headaches and data loss.

How to Recover Deleted Text Messages on Android
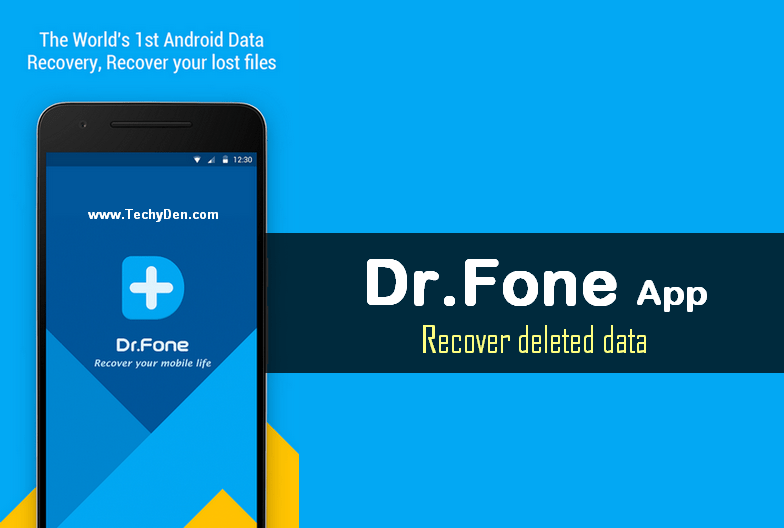
Android devices are known for their flexibility and wide range of customization options. This flexibility extends to data recovery as well. You can recover deleted text messages on Android using several methods. One effective way is by using third-party recovery software like Dr. Fone. Below, we’ll walk you through the process in detail.
Step 1: Download the Dr. Fone App

The first step in recovering deleted text messages on Android is to download the Dr. Fone app. It’s important to note that Dr. Fone is not a mobile app; it’s a computer application. You can download it from the official website or other trusted sources. Once downloaded, install the app on your PC or Mac.
Step 2: Enable USB Debugging on Your Android Device
Before you can recover your deleted messages, you need to enable USB Debugging on your Android device. USB Debugging allows your Android phone to communicate with your computer, which is necessary for the recovery process.
To enable USB Debugging:
- Go to Settings on your Android device.
- Scroll down and tap on About Phone.
- Locate the Build Number and tap on it seven times. This will enable Developer Options.
- Go back to the main Settings menu and open Developer Options.
- Find USB Debugging and enable it.
Step 3: Connect Your Android Device to Your Computer
Once USB Debugging is enabled, connect your Android device to your computer using a USB cable. Open the Dr. Fone app on your computer, and it should automatically detect your Android device.
Step 4: Run the Recovery Program
After your device is connected, click on the Recover option in the Dr. Fone app. The app will prompt you to scan your device for deleted data. This process may take a few minutes, depending on the amount of data on your device.
Step 5: Select and Recover Deleted Text Messages
Once the scan is complete, you’ll see a list of recoverable data, including text messages. Browse through the list and select the messages you want to recover. You can preview the messages before recovering them to ensure they are the ones you need.
Step 6: Save the Recovered Messages
After selecting the messages, click on the Recover button. You’ll be given the option to save the recovered messages to your computer or directly back to your Android device. Choose the appropriate option, and your deleted text messages will be restored.
Additional Tips for Android Message Recovery
- Act Quickly: The sooner you attempt to recover deleted messages, the higher the chances of success. Deleted messages are not immediately removed from your device’s memory. They are marked as “deleted.” New data can overwrite them.
- Avoid Using Your Phone: To prevent overwriting deleted messages, avoid using your phone for activities that generate new data. These activities include taking photos or downloading apps.
- Use Reliable Software: While there are many recovery apps available, not all of them are reliable. Stick to trusted software like Dr. Fone, MobiKin Doctor, or FonePaw Android Recovery.
How to Recover Deleted Text Messages on iPhone
Recovering deleted text messages on an iPhone can be a bit more challenging than on Android. This is primarily due to Apple’s strict data management policies. However, there are still several methods to recover deleted messages, especially if you have an iCloud or iTunes backup. If you don’t have a backup, you can use third-party software like FoneLab to recover your messages.
Step 1: Check iCloud Backup
If you have enabled iCloud backup on your iPhone, recovering deleted text messages is relatively straightforward. Here’s how you can do it:
- Go to Settings on your iPhone.
- Tap on your Apple ID at the top of the screen.
- Select iCloud and then Manage Storage.
- Check if your messages are backed up in iCloud. If they are, you can restore your iPhone from the iCloud backup to recover the deleted messages.
Step 2: Use iTunes Backup
You can recover deleted text messages if you have backed up your iPhone using iTunes. Restore your device from the backup to do this. Here’s how:
- Connect your iPhone to your computer and open iTunes.
- Select your device in iTunes and click on Restore Backup.
- Choose the most recent backup that contains your deleted messages and click Restore.
Step 3: Use Third-Party Recovery Software (FoneLab)
If you don’t have a backup, you can use third-party recovery software like FoneLab to recover deleted text messages. Here’s how:
- Download and Install FoneLab: Download the FoneLab software from the official website and install it on your computer.
- Connect Your iPhone: Connect your iPhone to your computer using a USB cable. FoneLab should automatically detect your device.
- Scan Your iPhone: Click on the Scan button to scan your iPhone for deleted data. This process may take a few minutes.
- Select and Recover Messages: Once the scan is complete, you’ll see a list of recoverable data, including text messages. Select the messages you want to recover and click on the Recover button.
Step 4: Save the Recovered Messages
After recovering the messages, you can save them to your computer or transfer them back to your iPhone. FoneLab also allows you to preview the messages before recovering them, ensuring that you only recover the ones you need.
Additional Tips for iPhone Message Recovery
- Regular Backups: To avoid losing important messages in the future, regularly back up your iPhone. You can use iCloud or iTunes for this purpose.
- Avoid Overwriting Data: Like Android, deleted messages on an iPhone can be overwritten by new data. To increase the chances of recovery, avoid using your iPhone for activities that generate new data.
- Use Trusted Software: When using third-party recovery software, ensure the tools are trusted. Use reliable tools like FoneLab. This helps to avoid potential security risks.
How to Recover Deleted Messages in Gmail
Gmail is one of the most widely used email services, and it’s not uncommon to accidentally delete important emails. Fortunately, Gmail has a built-in feature that allows you to recover deleted messages from the Trash folder. Here’s how you can do it:
Step 1: Open the Trash Folder
When you delete an email in Gmail, it moves to the Trash folder. It stays there for 30 days. After that, it is permanently deleted. To recover a deleted email:
- Log in to your Gmail account.
- Scroll down the left-hand sidebar and click on More to expand the menu.
- Click on Trash to open the Trash folder.
Step 2: Locate and Recover the Deleted Email
Once you’re in the Trash folder, you can browse through the deleted emails. Find the email you want to recover. To recover an email:
- Select the email by clicking on the checkbox next to it.
- Click on the Move to button at the top of the screen.
- Choose the destination folder (e.g., Inbox, Sent, or any other folder) where you want to move the email.
Step 3: Check the Recovered Email
After moving the email, it will be restored to the selected folder. You can now access it as you would any other email in your Gmail account.
What If You Can’t Find the Trash Folder?
If you can’t find the Trash folder in your Gmail account, it may be hidden. Here’s how you can make it visible:
- Click on the Settings gear icon at the top right corner of your Gmail account.
- Select See all settings.
- Go to the Labels tab.
- Scroll down to the Trash label and click on Show.
The Trash folder will now be visible in your Gmail sidebar, allowing you to access and recover deleted emails.
Additional Tips for Gmail Message Recovery
- Act Quickly: Gmail automatically deletes emails from the Trash folder after 30 days. To recover deleted emails, make sure to check the Trash folder as soon as possible.
- Use Filters and Labels: To avoid accidentally deleting important emails, use Gmail’s filters and labels to organize your inbox.
- Enable Gmail’s Undo Send Feature: Gmail offers an Undo Send feature. It allows you to retract an email within a few seconds of sending it. This can be useful if you accidentally send an email to the wrong recipient.
Final words on how to recover deleted text messages
Recovering deleted text messages is possible, but it requires prompt action and the right tools. Whether you’re using an Android device, an iPhone, or Gmail, there are several methods to retrieve lost messages. The key is to act quickly, as deleted data can be overwritten by new information. Additionally, regular backups can save you from the hassle of data recovery in the future.
By following the detailed steps outlined in this guide, you can increase your chances of successfully recovering deleted text messages. Remember to use trusted software and take preventive measures. This includes enabling backups and organizing your data. These steps help avoid future data loss.


Amazing blog Satish! You’re definitely a genius! Thank you for this tips. Even I, was struggled before how to recover accidentally deleted special if’s important that needs to be retrieved. Keep it up!